3 2 1 Rib Recipe: Easy Smoker Method for Perfect Ribs
For perfect 3-2-1 ribs, start with fresh baby back or St. Louis ribs, removing the silver skin and trimming excess fat.
Apply a mustard binder, then a balanced dry rub with brown sugar, paprika, and spices.
Smoke unwrapped at 225°F for 3 hours, then wrap tightly with liquid and foil for 2 hours.
Finally, unwrap, sauce generously, and smoke for 1 hour to caramelize.
Test tenderness with a toothpick, rest, then slice.
Discover tips for each step to master flawless ribs.
Key Takeaways
- Smoke ribs unwrapped at 225°F for 3 hours to develop a smoke ring and bark.
- Wrap ribs in foil with liquid and cook for 2 hours to braise and tenderize meat.
- Unwrap ribs, apply barbecue sauce, and smoke for 1 hour at 225–250°F to set sauce glaze.
- Use baby back or St. Louis ribs, trimming silver skin and applying mustard binder before dry rub.
- Check tenderness with toothpick test and ensure internal temperature reaches 185–205°F for fall-off-the-bone texture.
3-2-1 Smoked Ribs Recipe Table: Main Ingredients and Cooking Steps
| Main Term | Key Action | Details |
|---|---|---|
| Baby back ribs / St. Louis-style ribs | Rib selection | Choose fresh, meaty racks |
| Membrane removal | Prep | Remove silver skin from bone side |
| Mustard binder | Rub adhesion | Thin coat before seasoning |
| Dry rub | Flavor | Brown sugar, paprika, garlic, onion powder |
| First smoke stage | Smoke unwrapped | 3 hours at 225°F |
| Internal temp | First phase target | Around 160°F |
| Foil wrap | Tenderizing | Wrap tightly with liquid |
| Wrap liquid | Moisture | Apple juice, broth |
| Second smoke stage | Braise | 2 hours wrapped |
| Sauce phase | Finish | Apply BBQ sauce after unwrap |
| Final smoke | Caramelize | 1 hour at 225–250°F |
| Doneness test | Tenderness | Toothpick slides easily |
| Final temp | Ready to serve | 185–205°F |
| Resting | Juice retention | Rest 10 minutes |
Choosing the Best Ribs for 3-2-1 Smoking

Selecting the right ribs sets the foundation for a successful 3-2-1 smoking process. You’ll want to choose between baby back ribs and St. Louis-style ribs, both ideal for this method.
Baby back ribs are leaner and cook slightly faster, while St. Louis ribs offer more meat and a uniform shape, making them easier to handle. Aim for 1 to 4 racks totaling around 4 pounds to guarantee consistent cooking.
When you pick ribs, look for fresh, meaty racks with minimal blemishes and a clean cut. Avoid ribs with excessive fat or discoloration. Proper selection guarantees the ribs will absorb smoke evenly and become tender during the long, low-temperature cook, setting you up for delicious, fall-off-the-bone results. Using a low-and-slow cooking method at around 225°F ensures the best tenderness and smoke absorption for your ribs.
Preparing Ribs for Maximum Flavor and Tenderness
Once you’ve chosen your racks, the next step is to prepare them properly to enhance flavor and tenderness.
Start by removing the silver skin membrane from the bone side. This prevents toughness and allows seasoning to penetrate.
Then, trim excess fat and loose bits for even cooking. Pat the ribs dry with paper towels to help the rub adhere better.
Apply a thin layer of yellow mustard as a binder; it won’t affect taste but makes certain the rub sticks well.
Make sure your work surface and hands are clean to avoid contamination. Proper prep sets the stage for maximum smoke absorption and tenderness during the 3-2-1 method, so don’t rush.
Taking these steps carefully guarantees flavorful, tender ribs every time. Wrapping the ribs when they reach 150–160°F internal temperature helps lock in moisture and accelerate tenderness development.
Mixing the Perfect Dry Rub for 3-2-1 Ribs
A well-balanced dry rub is essential to complement the smoky flavor and create a flavorful crust on your ribs.
Begin by combining 4 teaspoons of brown sugar with 2 teaspoons smoked paprika for sweetness and depth.
Start with 4 teaspoons brown sugar and 2 teaspoons smoked paprika for rich sweetness and smoky depth.
Add 1 teaspoon each of garlic powder, onion powder, chili powder, dry mustard powder, and kosher salt to build a complex savory base.
Finish with ¼ teaspoon black pepper for subtle heat.
You can enhance the mix with ½ to 2 tablespoons of commercial rubs like sweet & poultry varieties for added complexity.
Mix thoroughly to ensure even distribution.
Once your ribs are trimmed and patted dry, apply a thin layer of yellow mustard as a binder.
Then rub this dry mixture evenly over every surface, guaranteeing maximum flavor absorption before smoking.
Letting the ribs air dry uncovered in the refrigerator for 1–2 hours helps form a pellicle that improves rub adhesion and promotes bark development.
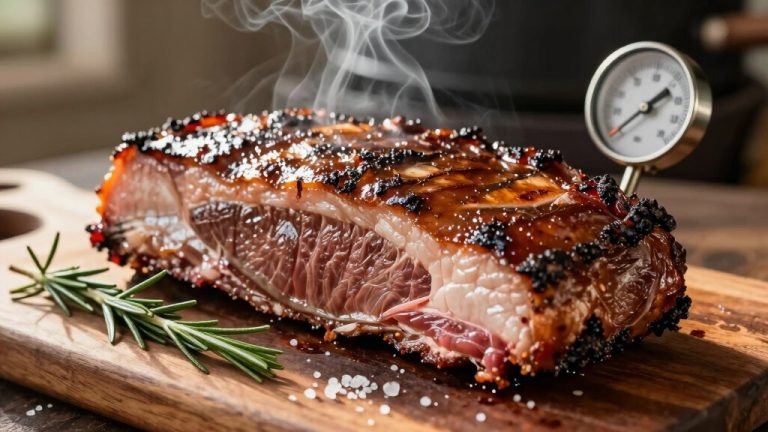
How to Smoke Ribs for 3 Hours at 225-250°F?
Before placing your ribs in the smoker, make sure it’s preheated to a steady 225°F. This low-and-slow approach guarantees even cooking and deep smoke flavor penetration.
Place the ribs bone-side down directly on the rack, keeping them unwrapped for 3 hours. Avoid opening the smoker to maintain temperature and smoke consistency.
During this phase, focus on:
- Maintaining a smoker temperature between 225-250°F
- Positioning ribs bone-side down for even heat
- Using hardwood chunks for steady smoke
- Avoiding opening the smoker to retain heat and smoke
- Monitoring ambient smoker temperature, not internal meat temp yet
Starting spritzing after the first hour can help maintain surface moisture and promote bark formation.
After 3 hours, the ribs should develop a rich smoke ring and reach about 160°F internally, setting the stage for the next cooking phase.
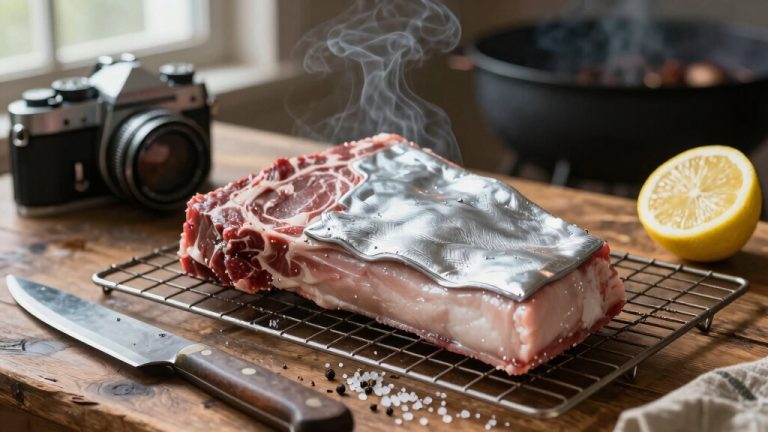
Wrapping 3-2-1 Ribs: Tips for the 2-Hour Foil Phase
When you’re getting ready to wrap your ribs for that 2-hour foil phase, it’s best to grab two heavy-duty foil sheets for each rack. This way, you’ll ensure they’re sturdy enough to hold everything without any leaks.
Now, here’s a little tip: add about a cup of liquid, like apple juice or cider. This will help keep things nice and moist, plus it really enhances the tenderness as they cook.
Once you’ve got your liquid in there, make sure to seal the foil tightly. You can use the drugstore fold method for this—it works like a charm! This will lock in all those delicious juices and create the perfect steaming environment for your ribs.
Double wrapping the ribs not only strengthens the packet but also maintains a sealed braising environment that is key for tender results.
Happy cooking!
Foil Wrapping Techniques
Wrapping your ribs properly is essential to locking in moisture and accelerating tenderness during the 2-hour foil phase of the 3-2-1 method. Use heavy-duty foil, double-layered, to prevent leaks and maintain heat.
Wrap the ribs bone-side down to keep juices near the meat. Seal the foil tightly with the drugstore fold to trap steam and flavors. Place the wrapped ribs back in the smoker at 225°F, ensuring even heat distribution.
Keep these tips in mind:
- Use two foil sheets per rack for sturdiness.
- Avoid puncturing the foil to prevent steam loss.
- Fold edges securely to create a tight seal.
- Position ribs bone-side down inside the foil.
- Handle carefully to avoid tearing during transfer.
These techniques guarantee tender, juicy ribs after the foil phase. For best results, remember that wrapping differs from tenting by creating a sealed environment that fully traps moisture and steam.
Adding Liquid For Moisture
Adding liquid during the 2-hour foil phase plays a pivotal role in maintaining moisture and enhancing tenderness in your ribs. When you add apple juice, cider or broth, the steam trapped inside the foil keeps the ribs juicy and breaks down connective tissue. This step prevents drying and intensifies flavor.
You’ll want to add about 1 cup of liquid per rack, ensuring the ribs don’t sit in liquid but benefit from the steam.
| Liquid Type | Flavor Impact | Quantity |
|---|---|---|
| Apple Juice | Sweet, mild | 1 cup |
| Broth | Savory, subtle | 1 cup |
Adding a bit of butter or brown sugar enhances richness and caramelization during this phase. Using a wrapping technique during cooking helps trap steam and retain moisture, similar to methods used for brisket.
Sealing Methods Explained
Although the foil seal may seem straightforward, mastering the wrapping technique is essential to trap steam effectively during the 2-hour phase.
A proper seal locks in moisture, ensuring tender, juicy ribs. Use heavy-duty foil and double-wrap each rack to avoid leaks.
Pour your chosen liquid beside the ribs before sealing to create steam. Employ the drugstore fold method for a tight, secure closure.
Here are key sealing tips:
Use two sheets of heavy-duty foil per rack for durability. Add 1 cup of apple juice, broth for steam. Fold edges inward firmly, then fold over twice.
Double-wrap to prevent punctures or leaks. Place ribs bone-side down to keep juices pooled around meat.
Perfect your seal to guarantee moist, flavorful ribs every time. Wrapping creates a braising environment that accelerates cooking and enhances tenderness by trapping heat and moisture.
Finishing Ribs With Sauce and Final Smoke
Once the ribs have reached the desired tenderness, you’ll unwrap them and generously apply barbecue sauce to enhance flavor and texture.
Place the ribs bone-side down back on the smoker or grill at 225-250°F. Smoke them for about an hour, checking every 20 minutes.
Reapply sauce each time to build layers and maintain moisture. If the ribs start to dry, spritz them with a mixture of apple juice and vinegar.
Toward the end, increase the heat briefly to help the sauce tack up and develop a glossy finish. Use the toothpick test to confirm tenderness; it should slide through the meat with minimal resistance.
This final smoke seals in flavor and gives your ribs a perfect balance of smoky, sweet, and saucy notes.
For best results, apply rib sauce once ribs have cooled slightly so the sauce tacks up and improves both flavor and appearance.
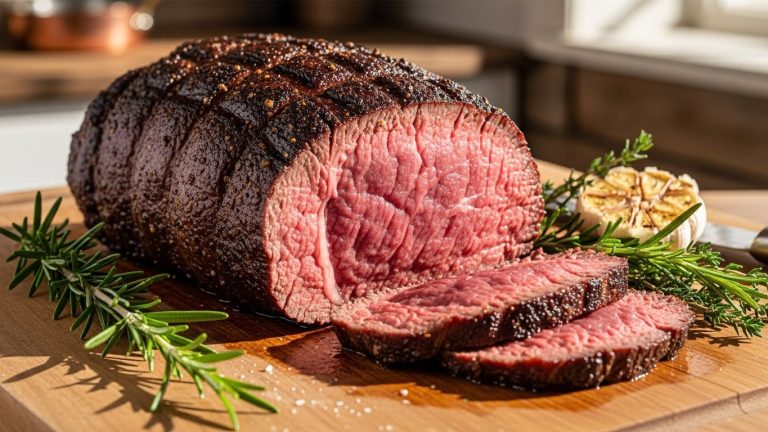
Checking Doneness and Serving Ribs
Check your ribs carefully to confirm they’ve reached the ideal tenderness and doneness before serving. You want to make certain the meat is tender, juicy, and flavorful, signaling a perfectly cooked rack.
Use these tips to check and serve ribs right:
Insert a toothpick or skewer; it should slide through with little resistance. Look for an internal temperature between 185-205°F for fall-off-the-bone texture.
Observe the meat pulling back from the bones slightly. Gently bend the rack; it should crack but not break apart. Rest ribs for 10 minutes post-smoking to retain juices.
Once confirmed, slice between the bones and serve with your favorite sides or extra barbecue sauce. Enjoy!
Keep in mind that heavier racks require 20–30% longer cooking time than lighter ones to reach perfect doneness.
Frequently Asked Questions
Can I Use a Gas Grill Instead of a Smoker for the 3-2-1 Method?
Yes, you can use a gas grill for the 3-2-1 method, but you’ll need to create indirect heat zones and add a smoker box with wood chips for smoke flavor.
Set your grill to maintain 225-250°F, placing ribs away from direct flames.
Monitor temperature closely and wrap ribs tightly during the second phase.
This setup mimics a smoker’s environment, letting you achieve tender, flavorful ribs even without traditional smoking equipment.
What Type of Wood Is Best for Smoking Ribs in This Method?
You want woods that bring sweetness, smokiness, and balance to your ribs.
Hickory delivers strong, bold flavor. Apple wood offers mild, fruity notes. Cherry wood adds rich, sweet undertones, and pecan gives a nutty, subtle smoke.
For best results, combine fruitwoods like apple or cherry with hickory or pecan to avoid overpowering your ribs.
Choose woods that complement your seasoning and enhance the meat’s natural flavor.
How Do I Store Leftover 3-2-1 Ribs Properly?
You should cool leftover ribs to room temperature within two hours.
Wrap them tightly in aluminum foil or place them in an airtight container to preserve moisture.
Store them in the refrigerator for up to 3-4 days.
For longer storage, freeze the ribs in a freezer-safe bag or container, removing as much air as possible.
When reheating, warm gently to maintain tenderness and avoid drying out the meat.
Can I Prep Ribs the Night Before and Refrigerate Before Smoking?
Absolutely, you can give your ribs a head start by prepping them the night before and refrigerating. Just remove the membrane, trim, apply mustard binder, and rub seasonings thoroughly.
Wrap them tightly in plastic wrap or place in an airtight container to lock in flavor. This lets the spices mingle deeply overnight, making your smoke session even more rewarding.
Just bring the ribs to room temperature before smoking for even cooking.
Is It Possible to Double the Recipe for Larger Gatherings?
Yes, you can double the recipe for larger gatherings.
Just make sure your smoker has enough space to accommodate the extra racks without crowding, which could affect smoke circulation and cooking times.
You may need to extend the cooking time slightly or adjust temperatures to maintain consistent heat.
Also, double the seasoning, wrapping liquids, and sauce quantities accordingly to keep flavors balanced across all ribs.
Plan ahead for prep and smoking logistics.
Finish Strong: Serve Ribs That Steal the Show
Now that you’ve mastered the 3-2-1 rib method, your ribs will fall off the bone like a gentle breeze through autumn leaves.
By choosing the right ribs, seasoning them perfectly, and following each smoking phase with care, you’re creating a symphony of flavor and tenderness.
Remember, patience is your secret weapon: wrap, smoke, and finish with love. Serve these ribs as the grand finale to your culinary masterpiece, and watch your guests savor every juicy bite.