How to Clean Deer Meat: Step-by-Step Processing Guide
Use sharp, sanitized knives and disposable gloves to prevent contamination when cleaning deer meat.
Start by field dressing promptly, removing organs carefully without puncturing intestines.
Skin the deer by cutting near joints to minimize hair contact.
Then debone with steady, controlled knife strokes, removing glands and excess fat to avoid off-flavors.
Clean blood and debris thoroughly and transport meat on clean tarps to a cool, ventilated area.
Following these precise steps guarantees quality and safety; more detailed techniques can enhance your process further.
Key Takeaways
- Use sharp, sanitized knives and disposable gloves to prevent contamination during cleaning and cutting of deer meat.
- Remove hair, dirt, and visible glands carefully to avoid off-flavors and maintain meat hygiene.
- Thoroughly trim excess fat, silver skin, and any discolored tissue to improve flavor and cooking quality.
- Clean all tools, surfaces, and hands frequently with food-safe sanitizers to minimize bacterial transfer.
- Cool the meat rapidly after processing and store in a clean, cool environment to inhibit bacterial growth.
Choose the Right Tools for Cleaning Deer Meat

Selecting the right tools is essential for efficiently cleaning deer meat while maintaining hygiene and meat quality. You’ll need a sharp, clean knife with a sturdy handle for precise cuts. Make sure it’s regularly sanitized with wipes to prevent bacterial transfer.
A boning knife is ideal for separating meat from bone, while a gutting knife helps with organ removal. Use disposable gutting gloves to avoid contamination and protect your hands. Prepare clean tarps to transport the carcass, minimizing dirt and bacteria exposure.
Additionally, have a sharpening stone or steel on hand to maintain blade sharpness throughout the process. Avoid dull or damaged tools, as they increase the risk of improper cuts and contamination. Proper tool selection directly impacts the cleanliness and quality of your venison. Maintaining cleanliness is critical because marinade does not kill harmful bacteria, so proper hygiene practices help reduce contamination risks.
Field Dress Your Deer Meat Safely
Begin field dressing your deer immediately after the harvest to preserve meat quality and reduce bacterial growth.
First, put on gutting gloves to maintain sanitary conditions. Use a sharp, clean knife, wiping it frequently with sanitizing wipes.
Position the deer on a clean tarp to avoid contamination. Make a precise lengthwise cut from anus to ribcage, exposing the abdominal cavity without puncturing intestines.
Lift skin carefully with your fingers while deepening cuts. Sever the diaphragm along the ribs to access thoracic organs.
Remove lungs and heart methodically, ensuring no spillage contaminates the meat. Detach the digestive tract at the esophagus and rectum, pulling it out completely.
Leave organs in the field to prevent bacterial transfer during transport. Transport the deer promptly to a cool, clean environment for further processing.
For optimal preservation, avoid moisture during preparation to ensure consistent meat quality and safety, as recommended in smoked game preparation.
Remove Organs Without Contaminating Deer Meat
When removing organs, you’ll want to work carefully to prevent any contamination of the meat.
Begin by cutting lengthwise down the belly from the anus to the ribcage, exposing the abdominal cavity without puncturing the intestines.
Use a sharp knife, keeping it clean and sanitized throughout. Lift the skin gently with your fingers, making deeper cuts only when necessary.
Sever the diaphragm along the ribcage to access thoracic organs, removing lungs and heart with steady, controlled motions.
Detach the digestive tract at the esophagus and rectum, pulling it out entirely to avoid spillage.
Always wear gutting gloves to maintain sanitary conditions and leave removed organs in the field.
Transport the deer on a clean tarp to minimize bacterial transfer to the meat.
Prompt field-dressing and rapid cooling are essential to minimize bacterial growth and preserve meat quality.
Skin the Deer to Minimize Hair on Venison
Although it requires careful attention, skinning the deer properly is essential to minimize hair contamination on the venison.
Start by making a cut around all four wrist joints and connect them, forming an “X” on the belly, with your knife blade facing outward to avoid cutting into the meat.
Then, follow these steps:
- Begin skinning at the hams, peeling the hide toward the neck to reduce hair contact with muscle.
- Keep your knife close to the skin to avoid slicing into the meat, maintaining a steady, controlled motion.
- Remove the front shoulders carefully by cutting near ribs and armpits, ensuring the skin separates cleanly without dragging hair onto the venison.
This precise method preserves meat quality and prevents hair contamination. Using a sharp, narrow blade similar to a boning knife helps achieve clean cuts and reduces meat waste.
Separate Meat From Bone Carefully
To separate the meat from the bone, you’ll want to apply steady pressure with your knife as you follow the contours of the bone. This will help you cleanly separate the meat. Try to keep the blade close to the bone—this way, you won’t waste any of that valuable muscle.
Also, don’t forget to check for any visible glands. Removing these is important for maintaining the quality and safety of the venison. It’s a small step that makes a big difference!
For best results, trimming excess fat and silver skin before cooking can improve seasoning adherence and ensure even cooking preparation techniques.
Use Steady Knife Pressure
Apply steady, consistent pressure with your knife as you carefully separate the meat from the bone to preserve the quality and yield of each cut. Sharpness and control are critical to avoid tearing muscle fibers or wasting meat.
Follow these steps to maintain precision:
- Position your knife blade flat against the bone, applying gradual pressure to cut connective tissue cleanly without gouging.
- Use your free hand to gently pull meat away, maintaining tension to expose the separation line clearly.
- Progress slowly along the bone, adjusting knife angle slightly to follow natural gaps without forcing the blade.
This methodical approach minimizes damage, optimizes yield, and guarantees clean cuts. Avoid sudden force to prevent meat shredding or bone splintering during separation. For best preservation after cleaning, promptly freeze the meat at 0°F (-18°C) to maintain its quality.
Follow Bone Contours
Maintaining steady knife pressure sets the foundation for following the bone contours accurately as you separate meat from bone. Position your knife blade close to the bone, angling it subtly to trace each curve.
Use slow, deliberate strokes, letting the knife guide you without forcing it. Keep your free hand steady, pulling meat gently away to expose the next section of bone.
Properly trimming silver skin and connective tissue during this process improves the quality of your final product and enhances meat texture.
| Bone Section | Key Technique |
|---|---|
| Ribcage | Angle blade downward |
| Backbone | Use shallow, sweeping cuts |
| Hams | Cut closely around joints |
| Front Shoulders | Follow armpit curves |
| Tenderloins | Peel gently along muscle |
This method guarantees maximum yield without damaging meat or bone. It maintains tissue integrity for optimal processing.
Remove Visible Glands
Scan the exposed meat carefully as you separate it from the bone, keeping an eye out for any visible glands.
These glands, if left intact, can impart unpleasant flavors and reduce meat quality.
Follow these steps to remove them effectively:
- Identify glands as small, firm nodules embedded in the tissue, often near joints or muscle seams.
- Use your knife to carefully excise each gland, making precise cuts to avoid losing good meat.
- Dispose of glands promptly to prevent cross-contamination and maintain clean working conditions.
Work deliberately, using steady pressure to separate glands from surrounding tissue without tearing meat.
Maintaining a clean blade and workspace throughout will help ensure your venison remains free of contaminants and tastes its best.
For optimal safety, ensure that the meat reaches an internal temperature of 160°F during processing to eliminate harmful bacteria.
Remove Tissue and Glands to Improve Venison Quality
When it comes to preparing venison, it’s really important to take your time with the meat. Start by carefully separating all that connective tissue. Use steady, controlled knife strokes to help you get the job done right.
And don’t forget about those glands! They can really mess with the flavor of your meat if you leave them in. So, make sure to identify and remove any visible ones you come across. Removing glandular fat pockets near the ribs is crucial to avoid bitter or glandular tastes in the meat.
Separating Tissue From Meat
When separating tissue from meat, work slowly and methodically from one end to the other. Use steady pressure to slip your knife between the tissue and venison. This precise approach guarantees clean separation without damaging the meat fibers.
Follow these key steps:
- Hold the tissue taut with your free hand, creating tension that makes slicing easier and more accurate.
- Glide the knife steadily along the tissue’s edge, maintaining a consistent angle to avoid cutting into the meat.
- Repeat the process on all sides, peeling away membranes and sinew until the venison is free from unwanted tissue.
Proper slicing technique, such as cutting against the grain, helps maximize tenderness and improve texture in the final meat product.
Removing Visible Glands
Identify and carefully remove any visible glands embedded in the tissue during the meat separation process. These glands, often located near joints or along muscle seams, can affect venison flavor and quality if left intact.
Use a sharp knife to excise glands precisely, avoiding damage to surrounding meat. Hold the gland firmly with your free hand and slice around it with steady pressure, guaranteeing complete removal.
Inspect the area thoroughly to confirm no gland tissue remains, as residuals can impart off-flavors. Dispose of removed glands promptly to maintain sanitary conditions.
Maintaining accuracy during gland removal not only improves the taste but also guarantees the cleanliness and professionalism of your venison preparation. This meticulous step is essential before progressing to further tissue removal.
Ensuring Complete Tissue Removal
After removing visible glands, focus on thoroughly separating all remaining tissue from the meat to enhance venison quality. Use a sharp knife and steady pressure to slip between tissue and meat, carefully lifting tissue away with your free hand. This methodical approach prevents leaving behind connective tissue that can affect texture and flavor.
Follow these steps to guarantee complete tissue removal:
- Work slowly from one end of the cut to the other, maintaining control and precision.
- Hold tissue up and away while slicing to separate it cleanly from the muscle.
- Continuously inspect all sides, cutting out any residual tissue or glands you find.
This meticulous process markedly improves meat tenderness and shelf life by eliminating contaminants and unwanted tissue.
Clean Fat, Blood, and Debris From Venison Meat
Start by thoroughly removing all fat, blood, and debris from the venison meat to guarantee prime flavor and preservation.
Use a sharp knife to carefully trim away any visible fat, especially discolored black or blue skin, as it can impart off-flavors.
Extract blood by patting the meat with clean, absorbent cloths or paper towels to prevent spoilage.
Check the surface for hair, grass, leaves, or other contaminants, removing them meticulously to maintain hygiene.
Deck-skin the hindquarters moving forward after deboning round steaks, ensuring no residual tissue remains.
Finally, trim any remaining meat from the carcass for stew or grinding, confirming all debris and non-meat elements are eliminated before proceeding to further processing.
This methodical cleaning optimizes taste and extends shelf life.
Prepare and Store Venison for Long-Term Use
Ensuring proper preparation and storage of venison is critical for preserving its quality and safety over time.
Once you finish cleaning, hang the deer upside down overnight in a shaded, cool area to redistribute blood and enhance preservation.
Then, cool the meat rapidly to inhibit bacterial growth.
Follow these steps for long-term storage:
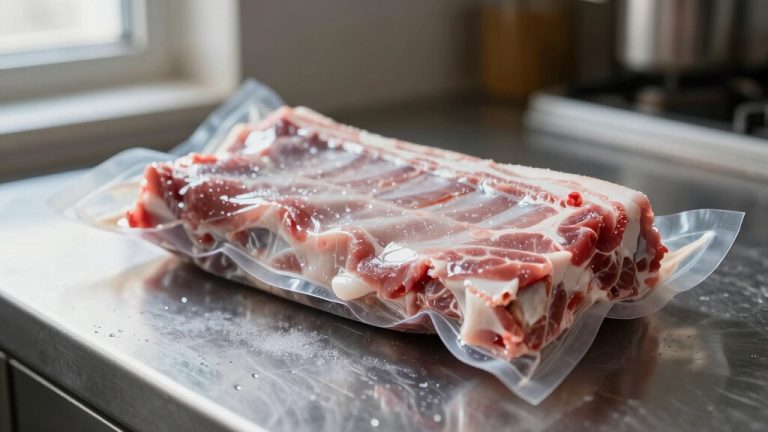
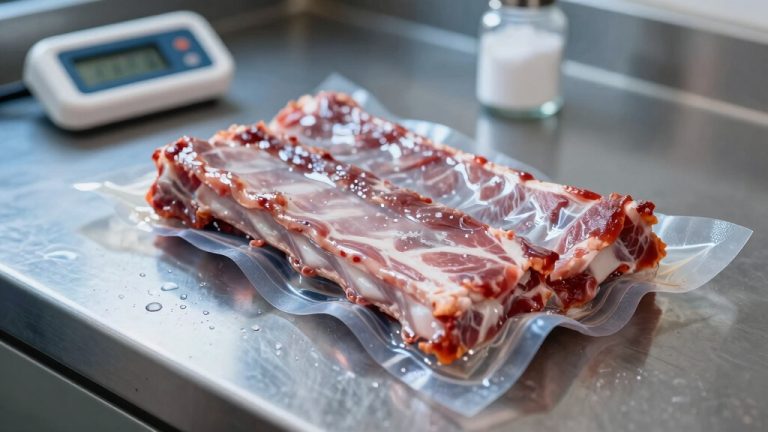
- Vacuum-seal individual cuts tightly to eliminate air exposure, which prevents freezer burn and oxidation.
- Label each package with the cut type and date to track freshness and avoid confusion.
- Store sealed packages in a deep freezer set below 0°F (-18°C). Venison remains safe and maintains quality for up to one year under these conditions.
Keep Your Workspace Sanitary During Processing
Consistently maintaining a clean and sanitized workspace during venison processing minimizes bacterial contamination and preserves meat quality.
Begin by thoroughly disinfecting all surfaces, tools, and equipment before starting. Use food-safe sanitizers and hot water to clean knives, cutting boards, and countertops after each task.
Thoroughly disinfect all surfaces, tools, and equipment using food-safe sanitizers and hot water after each task.
Wear disposable gloves and change them frequently, especially after handling different meat sections or waste. Avoid cross-contamination by segregating raw meat from offal and waste materials.
Keep the area well-ventilated and free from pests. Clean spills immediately and dispose of debris in sealed containers away from the workspace.
Regularly sanitize hands with an appropriate solution throughout processing. This disciplined approach guarantees the venison remains safe for consumption and maintains peak freshness during cleaning and butchering.
Frequently Asked Questions
How Can I Tell if Deer Meat Is Safe to Eat?
You can tell if deer meat is safe to eat by checking for firm texture, consistent deep red color, and absence of off-putting odors.
Avoid meat with slimy surfaces, green or black discoloration, or foul smells, which indicate spoilage.
Also, make sure proper field dressing and storage were followed to minimize bacterial contamination.
Always cook venison to an internal temperature of 160°F to eliminate pathogens and verify safety before consumption.
What Is the Best Way to Thaw Frozen Venison?
Oh sure, just leave your frozen venison out on the counter to thaw, said no expert ever.
Instead, thaw it safely by placing the vacuum-sealed meat in the refrigerator for 24 to 48 hours.
This keeps temperatures steady and prevents bacterial growth.
For quicker thawing, submerge sealed venison in cold water, changing the water every 30 minutes.
Never use warm water or room temperature, as that risks spoilage and unsafe meat.
Can I Use Deer Meat for Recipes Requiring Ground Beef?
Yes, you can use deer meat for recipes requiring ground beef. Venison is leaner, so consider adding fat like pork or beef to improve texture and moisture.
Grind the meat after removing all silver skin, glands, fat, and contaminants to guarantee quality. Handle the meat in a clean environment and keep it chilled during processing to prevent bacterial growth.
Season appropriately, as venison has a stronger flavor than beef.
How Do I Prevent Gamey Flavor in Venison?
You prevent gamey flavor in venison by thoroughly removing fat, blood, and connective tissue, as these contribute strong flavors.
Work in a clean, cool environment to avoid spoilage. Trim off black or blue skin and any glands you find.
Hanging the deer upside down overnight helps redistribute blood, improving taste. Vacuum-seal and freeze the meat promptly.
Proper preparation and storage guarantee a milder, more palatable venison flavor.
What Are Signs of Chronic Wasting Disease in Deer?
You’ll notice signs of chronic wasting disease (CWD) in deer through behavioral and physical symptoms.
Look for weight loss despite normal appetite, excessive salivation, and drooling. Deer may exhibit stumbling, lack of coordination, and lowered head.
Increased thirst and urination, along with dull or patchy coats, are common. If you see these signs, avoid handling the animal directly and report it to wildlife authorities for testing and confirmation.
Essential Steps for Proper Venison Preparation
As you carefully clean your deer meat, you’ll notice how each precise step from field dressing to removing glands directly improves the final quality.
Coincidentally, the same attention to detail that prevents contamination also enhances flavor and shelf life.
By methodically maintaining a sanitary workspace and properly storing your venison, you make certain every cut remains fresh and safe.
Following these exact procedures guarantees your hard work transforms into exceptional, long-lasting meat ready for any meal.