How to Reverse Sear a Tri Tip: Step-by-Step Guide
To reverse sear a tri tip, first trim excess fat and score the fat cap for even rendering. Bring the meat to room temperature, then season generously.
Slow-cook it at 225°–300°F until internal temperature hits 110°–120°F. Rest uncovered for 10–15 minutes to dry the surface, enhancing the sear.
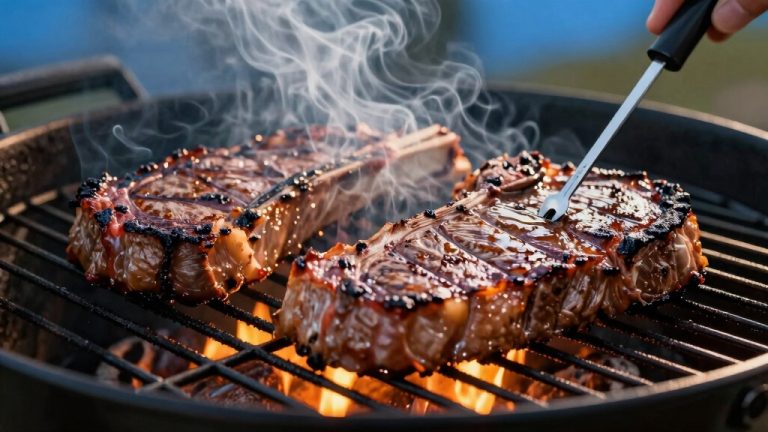
Finish by searing each side on a blazing-hot pan or grill with butter and aromatics for 1–2 minutes.
A detailed guide will help you master every step perfectly.
Key Takeaways
- Slow-cook the tri tip at 225°F–300°F until internal temperature reaches 110°F–120°F for even heat and tender texture.
- Remove from heat and rest uncovered for 10–15 minutes to dry the surface and enhance sear quality.
- Preheat a cast iron skillet or grill grates to over 550°F for a high-heat sear.
- Sear each side, including the fat cap, for 1–2 minutes with butter, garlic, and rosemary to develop a deep crust.
- Rest the meat loosely tented for 5–10 minutes before slicing against the grain at a 45° angle for maximum tenderness.
Preparing and Seasoning Your Tri Tip for Reverse Searing

Start by trimming all excess fat, silver skin, and sinew from your tri tip using a sharp boning knife.
Begin by carefully removing all excess fat, silver skin, and sinew with a sharp boning knife.
Next, score the fat cap with a cross-hatch pattern to promote even rendering during cooking.
Let the meat come to room temperature before seasoning to guarantee uniform heat penetration.
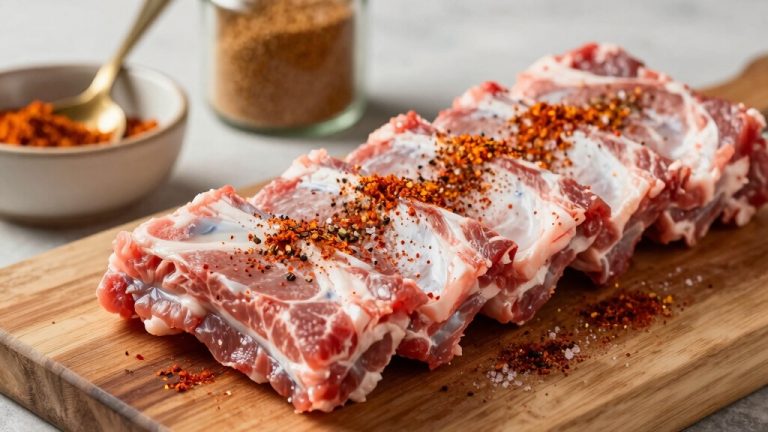
Apply a generous layer of kosher or sea salt and your preferred dry rub on all sides, enhancing flavor depth and crust formation.
If marinating, pat the tri tip dry thoroughly with paper towels to optimize the Maillard reaction during searing.
These precise preparations set the foundation for a perfectly cooked tri tip, balancing moisture retention with flavor concentration while facilitating an even, controlled reverse sear process.
For best results, aim to cook the tri tip to medium-rare to maximize tenderness and flavor retention.
Slow-Cooking and Monitoring Temperature for Medium-Rare Tri Tip
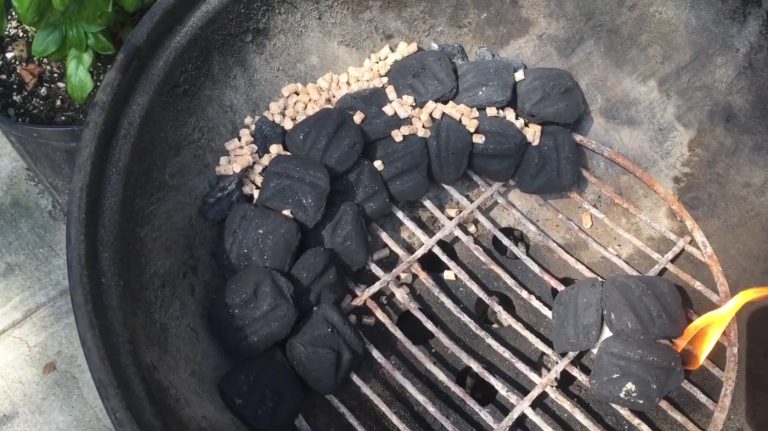
Maintaining a consistent low temperature during the slow-cooking phase is essential to achieving a perfectly medium-rare tri tip. Set your oven between 250°F and 300°F or your smoker at 225°F to guarantee even heat distribution.
Place the tri tip fat-side up on a rack to promote optimal rendering. Use a digital probe thermometer inserted into the thickest part to monitor internal temperature accurately.
Check every 20 minutes to avoid overshooting your target. Aim for an internal temperature between 110°F and 120°F, approximately 10°F to 15°F below your final goal of 130°F for medium-rare.
Cooking times vary by size but expect around 1.5 hours. Remove the tri tip promptly once the desired temperature is reached to prevent carryover cooking before the final sear.
For best flavor, consider letting the rubbed tri-tip rest for at least 30 minutes before cooking to enhance flavor absorption and tenderization.
Resting Your Tri Tip Before the Final Sear
Once your tri tip reaches the target internal temperature during slow cooking, removing it from the heat source sets the stage for a proper rest before searing.
Resting allows juices to redistribute evenly, ensuring a juicy final product. Leave the tri tip uncovered for 10–15 minutes to let the surface dry, which improves sear quality. If time is tight, tent it lightly with foil for 10 minutes but avoid longer rests that risk cooling.
Allowing the meat to rest also helps improve texture and tenderness when served.
| Rest Duration | Surface Condition | Purpose | Notes |
|---|---|---|---|
| 10–15 minutes | Dry | prime sear surface | Recommended |
| 10 minutes (tented) | Slightly moist | Faster rest | Slightly reduced crust quality |
| 45–60 minutes | Cooler, dry | Temperature equalization | Can cool meat too much |
| Uncovered | Maintains dryness | Prevents soggy crust | Best for searing |
Mastering the High-Heat Sear for Tri Tip’s Crispy Crust
Heat your cast iron skillet or grill grates until they’re nearly smoking, reaching temperatures above 550°F to guarantee a perfect sear.
Preheat your skillet or grill grates until nearly smoking, exceeding 550°F for an ideal sear.
Add clarified butter or ghee, smashed garlic, and rosemary to infuse flavor as you sear.
Place the tri tip on the hot surface, searing each side for 1–2 minutes to develop a deep, golden crust.
Continuously spoon the melted butter mixture over the meat to enhance caramelization and flavor complexity.
Don’t forget to sear the fat cap on its side to render and crisp it fully.
Maintain high heat throughout to ensure Maillard reactions occur rapidly without overcooking the interior.
This final high-heat step locks in juices and creates the signature crispy crust essential to a perfectly reverse-seared tri tip.
Pair your reverse-seared tri tip with roasted potatoes seasoned with garlic and herbs to complement its savory flavors.
Final Rest and Slicing for Tender Tri Tip
After achieving that perfect sear, let the tri tip rest on a cutting board, loosely tented with foil, for 5 to 10 minutes. This final rest allows residual heat to evenly redistribute juices, preventing them from escaping during slicing.
For prime tenderness, extend the rest up to 15 minutes if time permits. When ready to slice, identify the grain direction; note that tri tip often has two distinct grain patterns.
Start at the thin end, cutting at a 45° angle against the grain to maximize tenderness and mouthfeel. Cut halfway through, then adjust slicing to accommodate the second grain direction.
This precise technique guarantees each bite is consistently tender and juicy, highlighting the tri tip’s full flavor and texture developed through your reverse sear process.
Be sure to use a sharp, flexible knife to make clean cuts that preserve the meat’s juices and texture.
Frequently Asked Questions
Can I Reverse Sear Tri Tip Using a Gas Grill Instead of an Oven?
Yes, you can reverse sear tri tip using a gas grill.
Start by setting your grill to indirect heat at 250°F–300°F. Place the tri tip fat side up on the cooler side.
Monitor internal temperature closely with a probe until it’s about 10°F–15°F below your target.
Then, switch to direct high heat, searing each side for 1–2 minutes to achieve that crispy crust and deep flavor.
Finally, let it rest and slice.
What Is the Best Wood for Smoking Tri Tip During Slow Cooking?
The best wood for smoking tri tip during slow cooking is oak. It provides a balanced, medium smoke flavor that complements beef without overpowering it.
You can also use hickory for a stronger, more intense smoky taste. Fruitwoods like apple or cherry offer a milder, slightly sweet profile.
Make sure to use dry, well-seasoned wood to achieve clean smoke and avoid bitterness. This enhances the tri tip’s natural flavor effectively.
How Long Can Cooked Tri Tip Be Safely Stored in the Refrigerator?
You shouldn’t keep cooked tri tip in the fridge longer than 3 to 4 days. Any more and bacteria could throw a wild party on your steak!
To keep it safe, store it in an airtight container or tightly wrapped in foil or plastic wrap. Always chill it within two hours after cooking to prevent spoilage.
If you want to keep it longer, freeze it, where it’ll stay good for up to 3 months without losing quality.
Can I Use a Marinade Instead of Dry Rub for Reverse Searing Tri Tip?
Yes, you can use a marinade instead of a dry rub for reverse searing tri tip, but make sure to pat the meat dry thoroughly afterward. Excess moisture hinders crust formation during searing.
Marinades can add deeper flavor and tenderize, but drying the surface before cooking is critical. Use paper towels to remove surface liquid, then proceed with slow oven cooking and high-heat searing for the best texture and flavor development.
Is Reverse Searing Suitable for Tri Tip Larger Than 3 Pounds?
Yes, reverse searing works well for tri tips over 3 pounds.
Larger cuts take longer to reach the ideal internal temperature of 110°F–120°F during the low-and-slow phase, often around 1.5 to 2 hours.
You’ll need to monitor the temperature closely every 20 minutes to avoid overcooking.
This method guarantees even cooking throughout while developing a perfect crust during the high-heat sear, maximizing flavor and tenderness.
Create the Perfect Crust With the Reverse Sear Method
By mastering the reverse sear, you transform your tri tip into a symphony of textures. Tender, juicy interior wrapped in a crisp, caramelized crust.
Think of it as coaxing the perfect crescendo from every cut, where patience and precision harmonize.
Resting and searing aren’t just steps; they’re your secret weapons to releasing peak flavor and texture. Follow these techniques, and you’ll consistently serve a tri tip that sings with savory perfection.