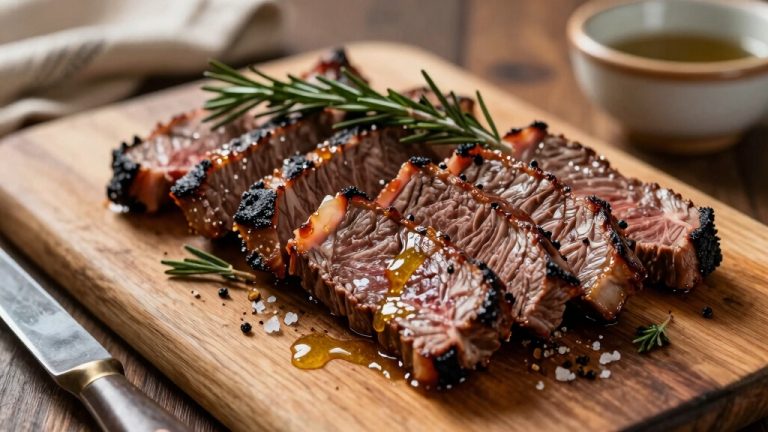
Dried Venison Recipe: Easy Homemade Jerky Guide
Choose lean, uniform venison cuts like loin or top round and trim all fat for even drying. Make a brine balancing salt and sugar, submerge the meat for 3–7 days while flipping regularly.
Rinse, pat dry, then wrap in cheesecloth and hang in a cool, ventilated space at about 70–75°F with 30% humidity.
Dry until 30% weight loss and cook to 160°F internally. Keep your dried venison sealed and chilled to maintain flavor and texture.
Discover each detailed step for best results.
Key Takeaways
- Choose lean, uniform venison cuts like loin or top round, trimming away fat and silver skin for even drying.
- Prepare a balanced brine with salt, sugar, and spices, submerging meat completely for 3–7 days in the refrigerator.
- Rinse and pat dry cured venison, then wrap in cheesecloth and hang in a cool, ventilated area at 70–75°F with 30% humidity.
- Dry venison for 3–5 days until it loses about 30% of its weight, ensuring internal temperature reaches 160–165°F for safety.
- Store dried venison wrapped tightly in plastic or vacuum-sealed, refrigerating up to one week or freezing for longer storage.
Complete Dried Venison Recipe Table
| Recipe Detail | Information |
|---|---|
| Main Term | Dried Venison Recipe |
| Recipe Type | Homemade Jerky |
| Cuisine | American |
| Difficulty Level | Intermediate |
| Prep Time | 30 Minutes |
| Curing Time | 3–7 Days |
| Drying Time | 3–5 Days |
| Total Time | 6–12 Days |
| Main Ingredient | Lean Venison (Loin or Top Round) |
| Brine Base | Salt, Sugar, Water |
| Seasonings | Black Pepper, Juniper Berries, Rosemary, Garlic |
| Drying Temperature | 70–75°F |
| Humidity Level | Around 30% |
| Safe Internal Temperature | 160–165°F |
| Weight Loss Target | About 30% |
| Storage Method | Vacuum-Sealed or Airtight Container |
| Refrigerator Shelf Life | Up to 1 Week |
| Freezer Shelf Life | Up to 12 Months |
| Best For | High-Protein Snack, Camping, Hiking |
Choose the Best Venison Cut for Drying

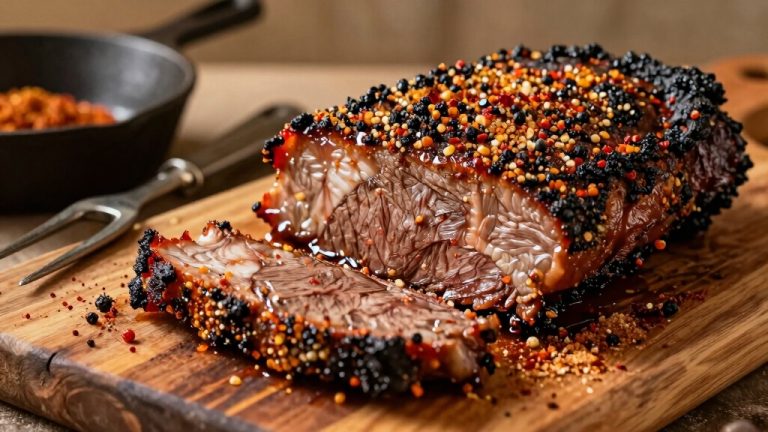
Start by selecting a venison cut that’s lean and uniform in thickness to guarantee even drying and curing. Opt for cuts like the loin or top round, which have minimal fat and consistent shape.
Choose lean, uniform venison cuts like loin or top round for even drying and optimal curing results.
Trim away any visible fat or silver skin, as these can interfere with the curing process and promote spoilage. Avoid cuts with uneven thicknesses; if necessary, slice the meat into thinner, uniform pieces for consistent moisture evaporation.
Check the meat for firmness and freshness, assuring it’s free from blemishes or bruises. Using a consistent cut helps you control drying time and assures the final product has a firm, smooth texture.
Properly prepared cuts will absorb brine evenly and dry uniformly, leading to superior flavor and preservation in your dried venison. Maintaining even airflow and proper rack spacing during drying is essential to promote consistent dehydration and prevent uneven texture.
Make a Flavorful Brine and Spice Rub
Craft a brine that balances salt and sugar according to the intensity of curing you want. Ratios typically range from 40:60 salt-to-sugar up to pure salt. Use 10% of your meat’s weight in liquid to guarantee full submersion.
Combine black peppercorns, juniper berries, rosemary, and ground garlic for a robust spice profile. For the rub, mix coarse salt with crushed spices and optionally incorporate juniper dust or red wine for depth.
Secure the venison with butchers twine and wrap in cheesecloth for uniform drying. Maintaining proper temperature control during curing ensures safe preservation and optimal flavor development.
| Salt-to-Sugar Ratio | Spice Additions | Brine Volume |
|---|---|---|
| 40:60 | Black pepper, garlic | 10% of meat weight |
| 60:40 | Rosemary, juniper berries | 10% of meat weight |
| 100% salt | Juniper dust, red wine (optional) | 10% of meat weight |
| Mixed rub | Coarse salt, crushed spices | Applied dry |
Cure and Marinate Venison for Great Flavor
Once you’ve prepared your brine and spice rub, it’s time to immerse the venison in the curing process.
Submerge the meat completely in a non-metallic container filled with your brine, ensuring the liquid equals about 10% of the meat’s weight.
Refrigerate for three to seven days, depending on thickness, flipping the venison every 12 hours for even saturation.
Skim any mold that forms on the surface promptly.
After three days, discard the liquid released by the meat.
Continue curing until the venison firms up, typically seven to ten days.
When ready, remove the meat, rinse it under cold water, and pat dry with paper towels.
This careful curing and marinating stage intensifies flavor and prepares the venison perfectly for drying.
For optimal texture and flavor preservation, ensure the meat remains well chilled throughout the process to prevent microbial growth.
Dry and Air-Cure Venison Safely
Although curing adds flavor and firmness, properly drying and air-curing venison is crucial to guarantee safety and achieve the ideal texture.
After rinsing and patting the meat dry, wrap it tightly in cheesecloth and secure with butcher’s twine to maintain shape.
Hang the venison in a cool, well-ventilated space with 30% humidity and a temperature around 70–75°F.
Use a low-speed fan to circulate air and prevent stagnant pockets.
Dry the meat for 3 to 5 days until it loses about 30% of its original weight, indicating proper moisture reduction.
Throughout, inspect for any surface mold and remove it promptly.
This controlled environment guarantees safe drying by inhibiting bacterial growth while firming the meat to a desirable texture.
For enhanced safety, ensure the internal temperature of the meat reaches at least 160–165°F during processing.
Cook and Store Your Dried Venison Properly
Start by heating your dried venison carefully to preserve its texture and flavor while ensuring food safety.
Use an oven set to 150°F with the door cracked open for initial drying; aim for an internal temperature of 152°F.
If smoking, begin at 130–140°F, then raise to 175°F until the meat reaches 160°F internally.
Avoid overheating to maintain tenderness.
Once cooked, allow the venison to cool completely.
Store it wrapped tightly in plastic wrap or vacuum-sealed bags to prevent moisture loss.
Refrigerate to extend shelf life up to one week.
For longer storage, freeze portions in airtight containers.
Always slice dried venison thinly before serving to enhance flavor and texture.
Proper cooking and storage guarantee your dried venison stays safe and delicious every time.
For best results, monitor the internal temperature closely using a reliable probe thermometer to prevent overcooking.
Frequently Asked Questions
Can Dried Venison Be Frozen for Long-Term Storage?
Yes, you can freeze dried venison for long-term storage.
To do this, wrap it tightly in plastic wrap or vacuum-seal it to prevent freezer burn and moisture loss.
Label the package with the date, then store it in the freezer at 0°F (-18°C) or below.
When ready to use, thaw it slowly in the refrigerator to preserve texture and flavor.
Proper freezing extends shelf life well beyond refrigerated limits.
What Is the Best Way to Rehydrate Dried Venison?
Imagine tender strands of venison soaking up rich flavors as you rehydrate it perfectly.
To do this, submerge the dried meat in cool water for 8 to 12 hours, changing the water once to keep it fresh.
For a deeper taste, use broth instead of water.
After soaking, gently pat the venison dry, and it’s ready to be cooked or added to your favorite dish, retaining its hearty texture and flavor.
How Do You Prevent Dried Venison From Becoming Too Salty?
You prevent dried venison from becoming too salty by carefully controlling your salt-to-sugar ratio, keeping it closer to 40:60 rather than pure salt.
Rinse the cured meat thoroughly under cold water before drying to remove excess salt. Discard the initial drainage liquid after three days of curing.
Monitor saltiness by tasting small pieces during curing. Avoid over-brining by limiting marination to no more than seven days for even flavor balance.
Are There Vegetarian Alternatives to Traditional Venison Spice Rubs?
Certainly, you can craft enthralling, clean, and colorful vegetarian spice rubs.
Combine cumin, coriander, cinnamon, and cardamom for a warm, woody whisper.
Add zesty zest of lemon and zingy ginger for zing.
Toasted turmeric and thyme bring tantalizing tones, while smoked paprika provides a subtle smoky shadow.
You’ll want to mix these meticulously, massaging your chosen vegetables or plant-based proteins thoroughly, ensuring every bite bursts with balanced, bright botanicals.
Can Dried Venison Be Safely Consumed Without Cooking?
You shouldn’t consume dried venison without cooking unless it’s been properly cured and reached a safe internal temperature of at least 152°F.
Proper curing, drying, and temperature control eliminate harmful pathogens. If you skip cooking, you risk foodborne illness.
Always verify the meat’s internal temperature and make certain it’s fully dried, firm, and free of mold before eating it raw or semi-cured.
Safety comes first with dried meats.
Enjoy Homemade Venison Jerky With Confidence
Now that you know how to choose, cure, and dry venison safely, you’re ready to enjoy a tasty, long-lasting snack.
Did you know properly dried venison can last up to a year without refrigeration? That means your efforts pay off with delicious, protein-packed jerky whenever you want.
Follow these steps carefully, and you’ll master the art of drying venison that’s flavorful, safe, and perfect for any adventure or quick bite.