What Is Bone Side Down on Ribs: BBQ Tips for Perfect Cooking
When you cook ribs bone side down, you place the bones directly on the heat source, shielding the meat from direct heat and promoting even cooking.
This method guarantees consistent fat rendering, protects moisture, and encourages a well-formed bark on the exposed meat.
Maintaining this position slows collagen breakdown for peak tenderness while preventing bark disruption.
Proper temperature control and seasoning further enhance results. Understanding this technique reveals how to achieve perfectly tender, flavorful ribs every time.
Key Takeaways
- Bone-side-down means cooking ribs with the bones facing the heat source and meat side facing upward for seasoning and bark development.
- Bones act as a natural heat shield, protecting meat from direct heat and preventing drying during slow cooking.
- This technique promotes even heat transfer, consistent fat rendering, and improved tenderness by keeping meat pulled toward the bones.
- Exposed meat surface allows for better rub application and optimal bark formation while facilitating easier membrane removal on the bone side.
- Maintaining bone-side-down throughout cooking ensures steady heat, reduces smoke bitterness, and supports consistent, reliable results.
Understanding Bone-Side-Down Positioning in Ribs

When you place ribs bone-side-down on the grill, you position the bones facing the heat source while exposing the meat surface upward for seasoning and bark development.
This orientation protects the meat from direct heat, reducing the risk of drying and allowing steady heat transfer through the bones.
The exposed meat surface facilitates even application of rubs and promotes optimal bark formation.
Maintaining the ribs bone-side-down throughout cooking guarantees consistent protection and encourages fat rendering between bones and meat.
This setup uses gravity to keep the meat pulled toward the bones, improving tenderness and structural integrity.
You’ll also find it easier to remove the membrane from the bone side before cooking, which aids in smoke penetration and prevents unpleasant textures.
This makes bone-side-down an efficient and precise method for rib preparation.
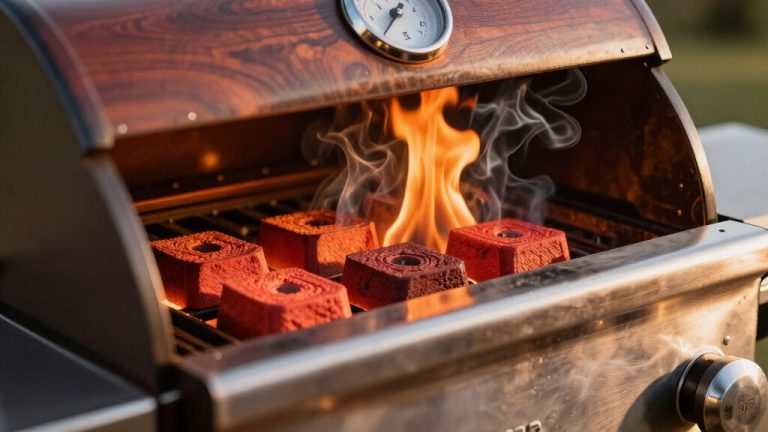
For the best bark results, it is important to maintain a smoker temperature between 225°F and 250°F to promote caramelization and bark formation.
Why Choose Bone-Side-Down for Cooking Ribs?
Although some cooks experiment with different orientations, choosing bone-side-down for cooking ribs offers distinct advantages in heat management and meat texture.
When you position ribs bone-side-down, the bones act as a natural heat shield, protecting the meat from direct grill heat and preventing drying.
This orientation leverages gravity to keep the meat firmly attached to the bones, enhancing tenderness by allowing connective tissues to break down evenly.
Additionally, cooking ribs this way promotes consistent fat rendering without the meat pulling away, preserving moisture.
You also gain better control over bark formation on the meat side, which faces upward.
Choosing bone-side-down guarantees a more uniform cook and facilitates clear separation between meat and bone when serving.
This makes it the preferred method for achieving tender, flavorful ribs.
Wrapping ribs at the ideal internal temperature creates a steamy environment that locks in moisture and accelerates tenderness.
Seasoning and Preparing Ribs for Bone-Side-Down Cooking
Before placing ribs bone-side-down on the grill, you must thoroughly prepare and season them to maximize flavor and texture.
Start by removing the membrane on the bone side to guarantee even heat transfer and better seasoning absorption.
Begin by peeling off the membrane on the bone side for optimal heat and seasoning absorption.
Next, apply a dry rub evenly on both the meat and bone sides, focusing on the meat side for bark formation while seasoning the bones to enhance flavor.
Use precise measurements of salt, sugar, and spices to balance taste and promote caramelization.
Let the ribs rest at room temperature for 30 minutes to allow the rub to penetrate.
This preparation assures the bones shield the meat effectively during cooking, preserving moisture and promoting tenderness throughout the low-and-slow process.
Proper seasoning is critical for peak bark and smoke adhesion in bone-side-down cooking.
For best results, pat ribs dry to form a tacky pellicle that helps seasoning and smoke adherence for better bark formation.
When Should You Flip Ribs: Bone Side Up or Down?
Once you’ve properly prepped and seasoned your ribs for bone-side-down cooking, managing the flip timing becomes key to optimizing tenderness and heat exposure.
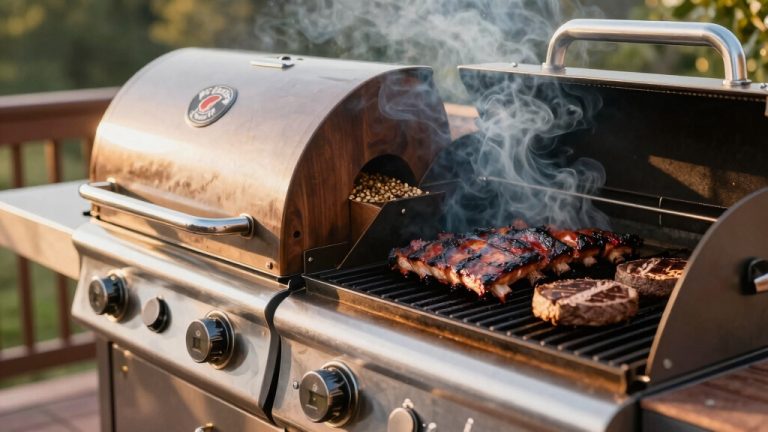
Typically, you start ribs bone side down to shield meat from direct heat and promote even fat rendering. Some techniques call for flipping ribs bone side up after the initial phase, often after about an hour, to expose bones and allow better smoke penetration and bark development on the meat side.
However, many pitmasters prefer leaving ribs bone side down throughout the cook to maintain consistent heat protection and encourage meat adherence to bones. If you choose to flip, do so deliberately, monitoring internal temperature and tenderness, aiming for around 4 hours total at 250°F.
Avoid flipping too frequently, which can disrupt bark formation and heat distribution. Wrapping techniques similar to those used in brisket cooking can be applied to ribs to control moisture and tenderness during longer cooks, especially during temperature stalls caused by evaporative cooling, known as the stall effect.
How Bone-Side-Down Affects Rib Tenderness and Flavor?
When you cook ribs bone-side-down, something cool happens: gravity keeps the meat snug against the bones. This little trick helps enhance tenderness by stopping the meat from shrinking away. Pretty neat, right?
Plus, this position does another awesome thing. It shields the meat from direct heat, which means the fat renders evenly. That leads to a consistent flavor development throughout the cook. For best results, maintain consistent temperature control to ensure even cooking and optimal flavor absorption.
Gravity’s Role In Tenderness
Although you mightn’t immediately consider gravity’s impact during cooking, positioning ribs bone-side-down plays an essential role in enhancing tenderness.
Gravity pulls the meat downward, keeping it firmly adhered to the bones, which prevents premature separation and moisture loss.
This orientation allows the bones to shield the meat from intense heat beneath the grill grate, reducing drying and promoting even fat rendering.
As fat renders, gravity helps redistribute moisture within the meat, maintaining juiciness and improving bite texture.
By positioning ribs bone-side-down, you ensure consistent contact between meat and bones, facilitating connective tissue breakdown necessary for tenderness.
This mechanical advantage, combined with heat protection, ultimately delivers ribs with superior softness and structural integrity compared to alternative orientations.
Additionally, heavier racks, such as spare ribs weighing around 3.5–4 pounds, may benefit even more from this positioning due to their longer cooking times and higher fat content.
Flavor Development Mechanisms
Understanding how positioning ribs bone-side-down influences flavor development requires examining the interaction between heat, moisture, and smoke exposure.
When ribs cook bone-side-down, the bones shield meat from direct heat, reducing moisture loss and preventing drying. This protection allows fat to render slowly, basted by natural juices, enhancing tenderness and flavor complexity.
The meat-facing-up surface receives direct smoke and heat, promoting bark formation and Maillard reactions critical for flavor. Gravity aids in maintaining meat-to-bone contact, facilitating connective tissue breakdown and efficient collagen conversion.
Additionally, the bone-side-down orientation limits excessive smoke exposure on the bone surface, preventing bitterness. By controlling heat transfer and moisture retention, this method guarantees a balanced interplay of rendered fat, smoke absorption, and caramelization.
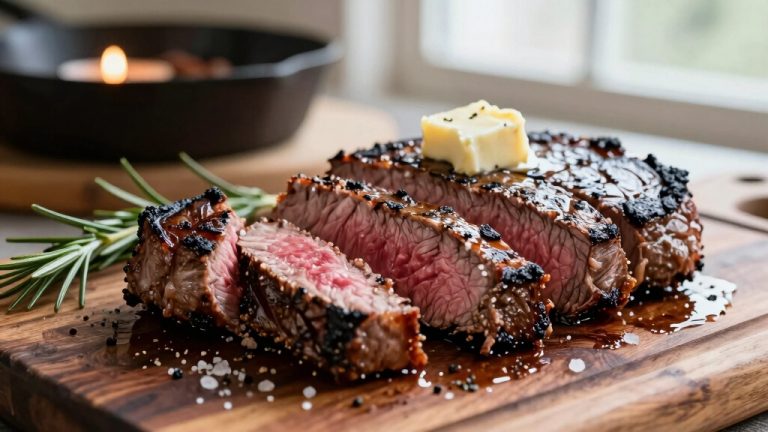
The result is ribs that are tender, juicy, and richly flavored. Ensuring ribs reach the recommended internal temperature of 195°F helps achieve the ideal tenderness and safety without compromising flavor.
Checking Doneness and Perfecting Bone-Side-Down Ribs
To check if your ribs are done, keep an eye on the internal temperature and how the meat responds to a gentle press. It’s really all about that perfect balance!
You can try out tenderness tests like the bend or pull test—these are super helpful in making sure your ribs are soft but not completely falling apart.
Trust me, using these methods will help you nail those bone-side-down ribs every single time. You’ll be amazed at how consistent and reliable the results can be!
For the most accurate doneness, consider using a digital leave-in probe to continuously monitor internal temperature without opening the smoker.
Doneness Indicators
Master the art of checking doneness by focusing on key indicators specific to bone-side-down ribs. Since the bones face the grill, you rely on visual and tactile cues to guarantee perfect cooking without overcooking.
Monitor these critical factors during the low-and-slow process:
- Bone Exposure: Bones should begin to protrude slightly as meat shrinks and renders fat, indicating near doneness.
- Bark Formation: A firm, dark crust on the meat side signals proper seasoning and Maillard reaction development.
- Internal Temperature: Aim for around 200°F for peak collagen breakdown and tenderness.
- Juice Clarity: Clear, not pink, juices when pierced confirm thorough cooking without moisture loss.
Additionally, use a digital probe thermometer to monitor internal temperature precisely and ensure doneness without opening the grill.
Tenderness Testing Methods
Assess tenderness by applying specific tests that reveal the ideal doneness of bone-side-down ribs without compromising texture or moisture. Use a combination of tactile and visual methods to confirm tenderness while preserving bark and juiciness.
The pull test, bend test, and probe test each provide objective feedback on meat readiness. These methods guarantee you perfect ribs that maintain optimum moisture and separation from bones, critical in bone-side-down cooking.
Proper resting at the right internal temperature range helps redistribute juices and ensures tenderness before serving.
| Test Method | Description |
|---|---|
| Pull Test | Gently tug meat from bone; slight resistance indicates doneness |
| Bend Test | Lift ribs with tongs; meat should slightly crack but not break apart |
| Probe Test | Insert skewer or toothpick; it should slide in with minimal resistance |
| Visual Check | Look for bark integrity and slight bone exposure |
| Timing Check | Confirm at 4 hours, then every 20 minutes until tenderness matches tests |
Frequently Asked Questions
Can Bone-Side-Down Cooking Be Used for Other Meats Besides Ribs?
Yes, you can apply bone-side-down cooking to other meats like meat shoulders, whole chickens, or briskets.
Positioning bones down helps shield meat from direct heat, promoting even cooking and moisture retention.
It also enhances tenderness by keeping meat closer to the bones.
You’ll want to adjust cooking times and temperatures based on the specific meat cut, but the principle of bone-side-down for heat protection and juiciness remains effective across various bone-in proteins.
Does Bone-Side-Down Affect the Cooking Time Compared to Bone-Side-Up?
You won’t see a significant difference in overall cooking time between bone-side-down and bone-side-up methods.
However, bone-side-down protects the meat from direct heat, which can slow surface drying and aid tenderness. You might notice a slightly more consistent temperature profile and reduced risk of overcooking the meat side.
Ultimately, time depends more on temperature, thickness, and doneness checks than the rib orientation itself.
What Type of Wood Pairs Best With Bone-Side-Down Rib Smoking?
You’ll find that fruitwoods like apple or cherry pair best with bone-side-down rib smoking. Their mild, sweet smoke complements the tenderness and protects the meat’s natural flavors.
Hickory and oak also work well for a stronger, more robust profile. However, avoid overpowering the delicate rib texture.
Maintain a consistent low temperature around 250°F to maximize the wood’s aromatic benefits. This helps prevent overwhelming the meat during the slow cook.
How Does Bone-Side-Down Cooking Impact Rib Appearance or Presentation?
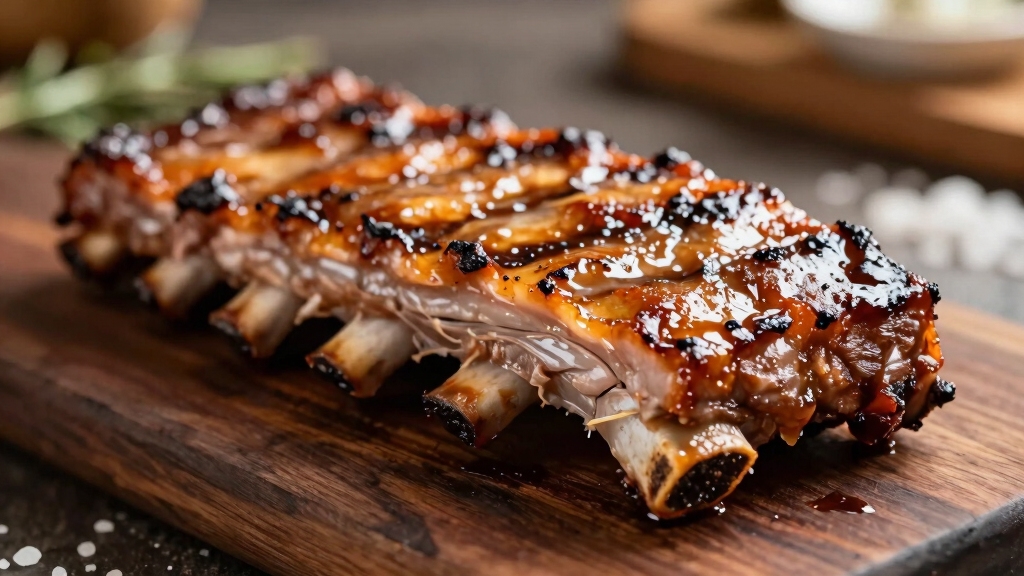
When you cook ribs bone-side-down, the meat-facing-up surface develops a well-defined bark and even seasoning, enhancing visual appeal.
The bones remain shielded, preventing them from drying or darkening excessively, so they look cleaner and more uniform.
This method also promotes clear separation between bone and meat when sliced, giving a professional, appetizing presentation.
Are There Any Tools Required Specifically for Bone-Side-Down Rib Cooking?
You don’t need a medieval arsenal to nail bone-side-down rib cooking. Just a reliable grill or smoker with adjustable grates will do.
A good meat thermometer is essential for precise internal temperature checks, ensuring perfect tenderness. Rib racks help keep ribs stable when flipping but they’re optional.
Additionally, foil sheets are essential for wrapping meat during the cook. These tools combined give you complete control over heat and moisture, optimizing your bone-side-down technique.
The Simple Trick Behind Irresistibly Tender Ribs
Cooking ribs bone side down isn’t just a technique; it’s the secret to achieving ribs so tender and flavorful they might as well melt in your mouth.
By placing the bones down, you protect the meat from direct heat. This ensures even cooking and moisture retention.
Remember to monitor doneness carefully and flip only when necessary to maintain that perfect balance. Master this method, and you’ll elevate your rib game to professional levels every time.